

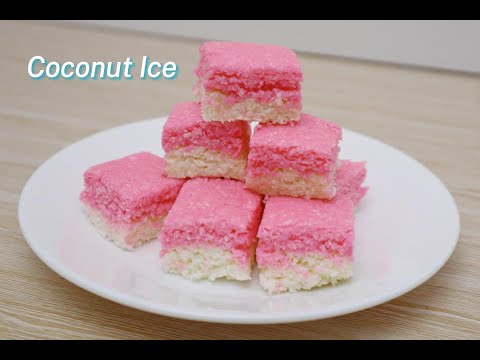
There is something so nostalgic about a batch of coconut ice. Growing up, it was the sweet that showed up at every fete, school fair and Nanna’s Christmas tin — pink on top, white on the bottom, and always disappearing faster than anyone expected. The good news is that this is one of those old-fashioned Coconut Ice treats that is actually ridiculously easy to make at home, no candy thermometer or boiling sugar required.
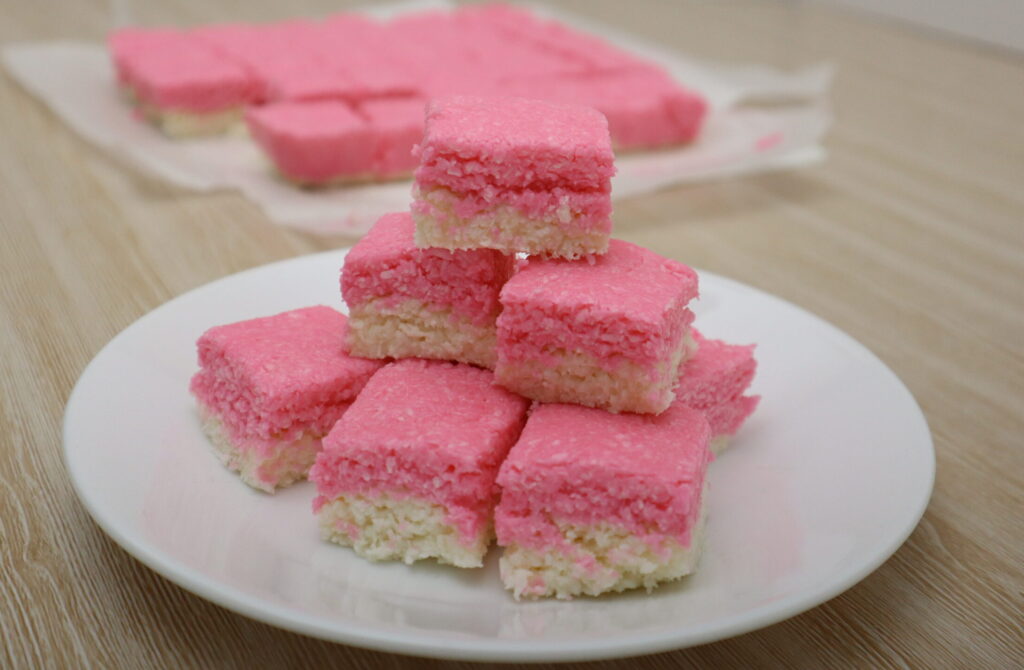
This is a no-cook, no-bake coconut ice recipe made with just a handful of pantry staples: desiccated coconut, icing sugar, condensed milk and a touch of vanilla. Ten minutes of mixing, a couple of hours in the fridge, and you’ve got a full tray of soft, chewy, melt-in-your-mouth coconut squares ready to slice and share.
I’ve popped the full video above so you can see exactly how quick this comes together — it really is one of the simplest recipes on Creating Dishes.

Why You’ll Love This Coconut Ice Recipe
- No cooking involved — no thermometers, no boiling syrup, no stress.
- Only 6 ingredients, most of which are already in your pantry.
- Ready in under 15 minutes of hands-on time (plus chilling).
- Budget-friendly — a full tray for the price of a packet of coconut and a tin of condensed milk.
- Great for gifting — wrap it in cellophane with a ribbon and it looks like it took hours.
What is Coconut Ice?
Coconut ice is a classic British confectionery made from coconut, sugar and condensed (or boiled) milk, pressed into a slice and cut into squares. It’s especially popular in Australia, New Zealand and South Africa, usually made in two layers — one left white, one coloured pink — so every square has a little stripe of colour running through it.
Ingredients
- 3 cups Desiccated Coconut
- 2 cups Icing Sugar (powdered sugar)
- 1 can (395g) Sweetened Condensed Milk
- Pinch of Cream of Tartar
- 2 tsp Vanilla Essence
- 5–6 drops Pink Food Colouring
Note: use fine desiccated coconut rather than coarse coconut flakes — it holds together much better and gives that classic smooth texture.
How to Make Coconut Ice
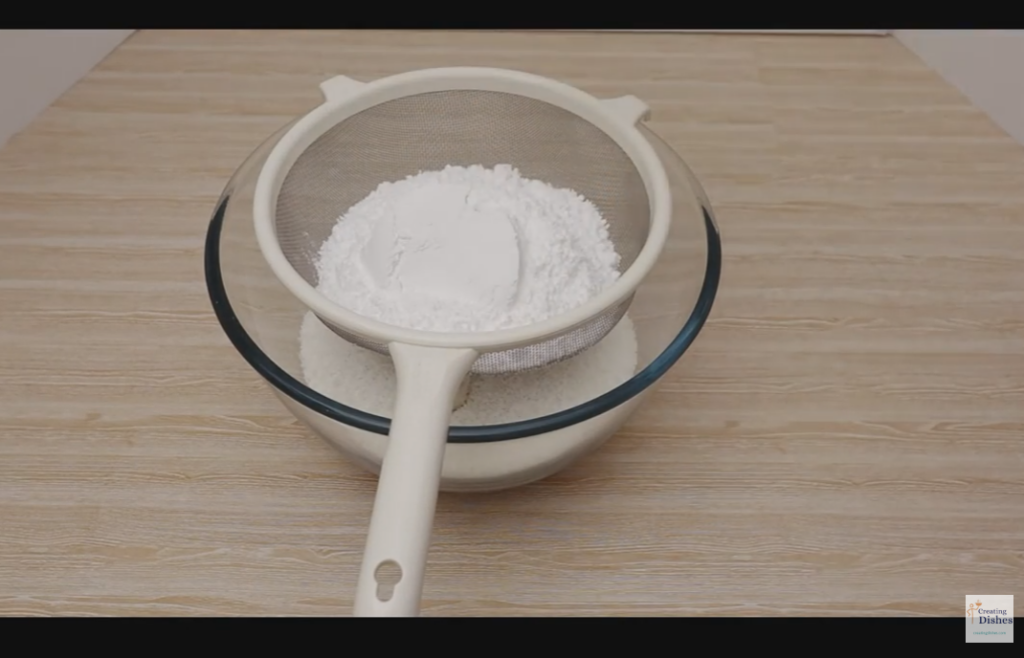
- Add the dry ingredients. In a large bowl, combine the desiccated coconut and sifted icing sugar.
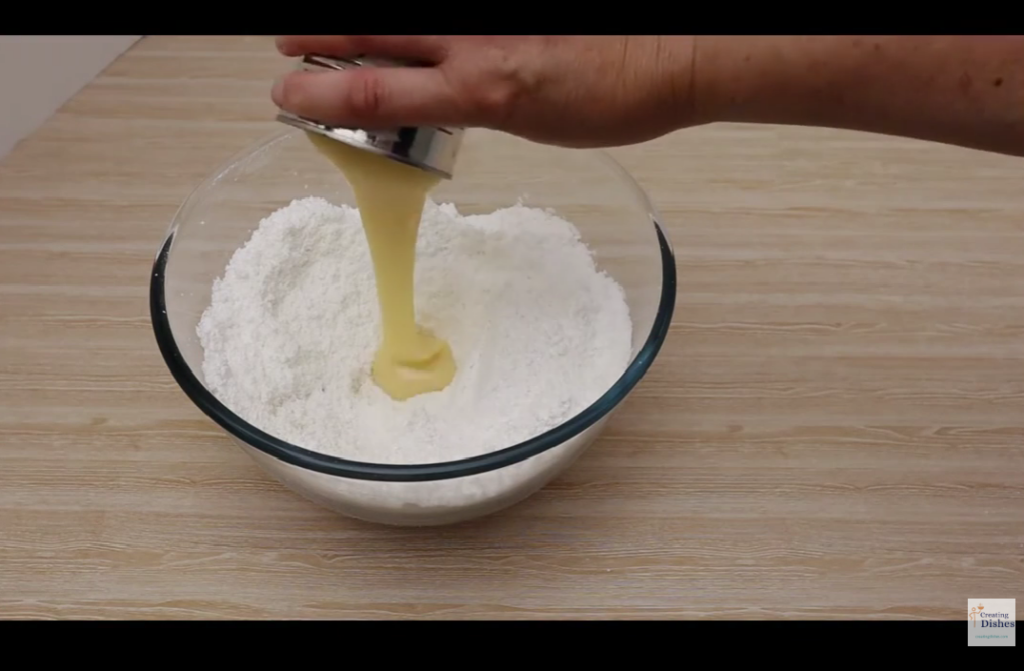
- Add the wet ingredients. Pour the condensed milk into the bowl.
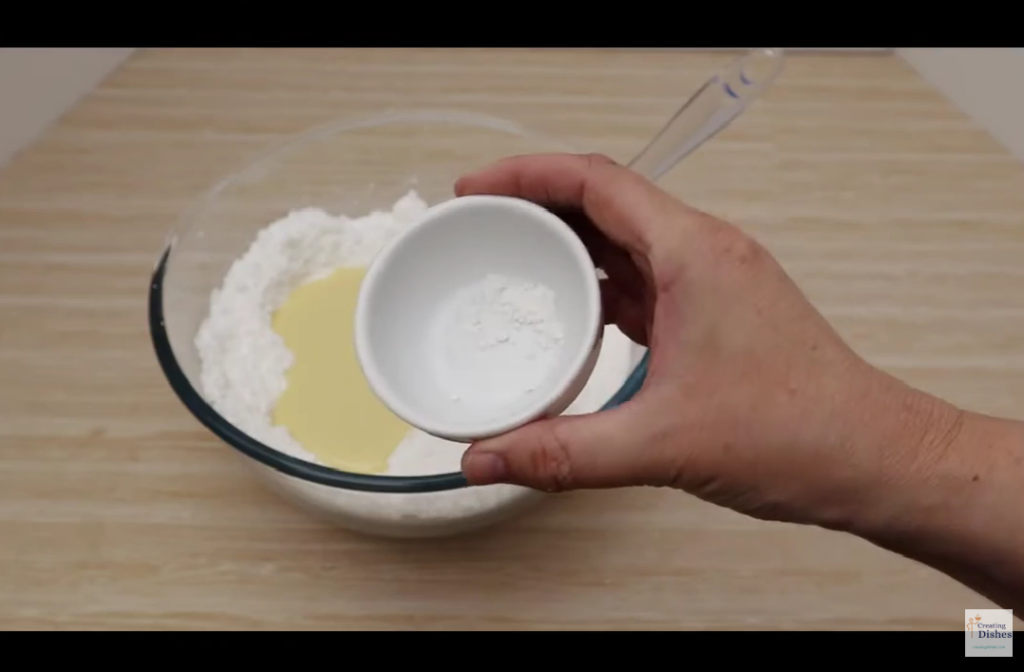
- Add to the dry ingredients. A pinch of cream of tartar.
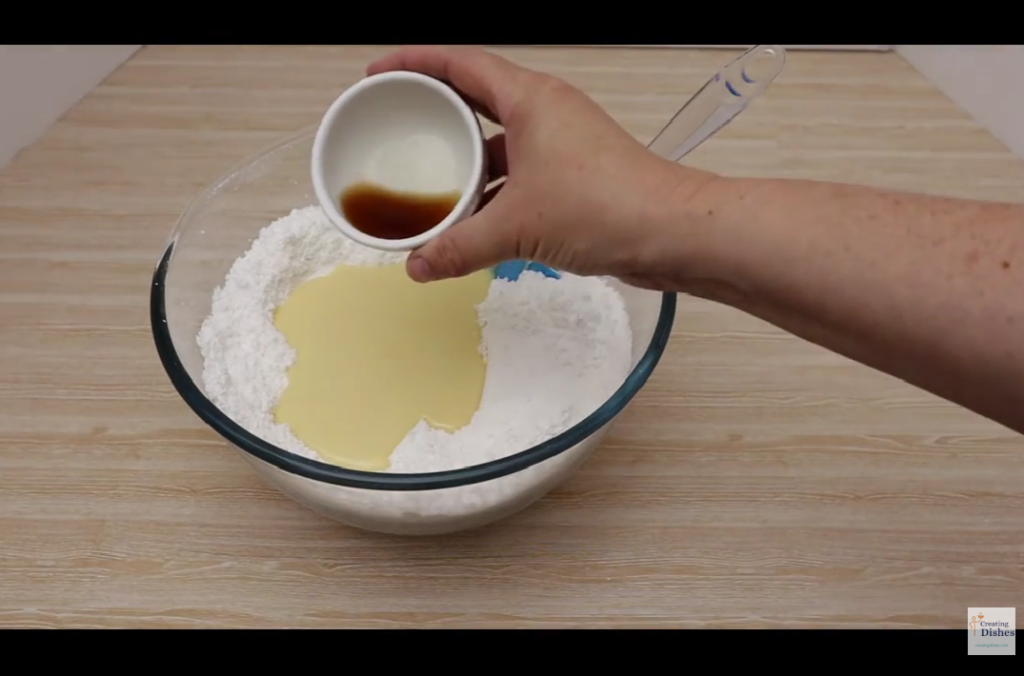
- Add the ingredients. Pour vanilla essence. Mix well until you have a thick, sticky, dough-like mixture that holds together when pressed.
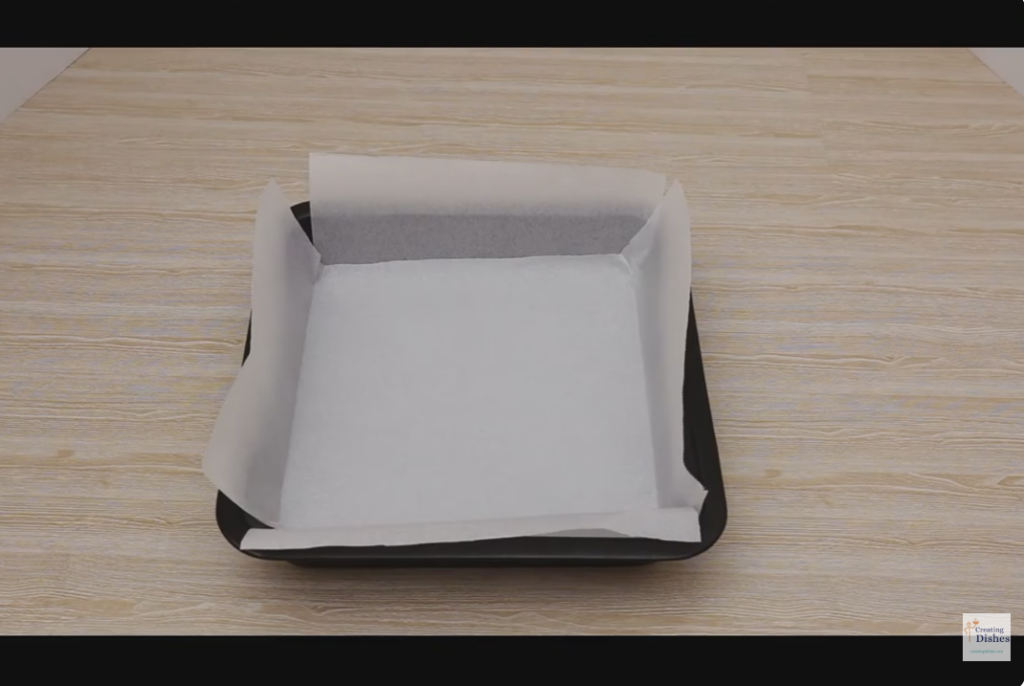
- Line your tin. Line a slice tin (roughly 20cm x 20cm) with baking paper, leaving a little overhang on two sides to help lift it out later.
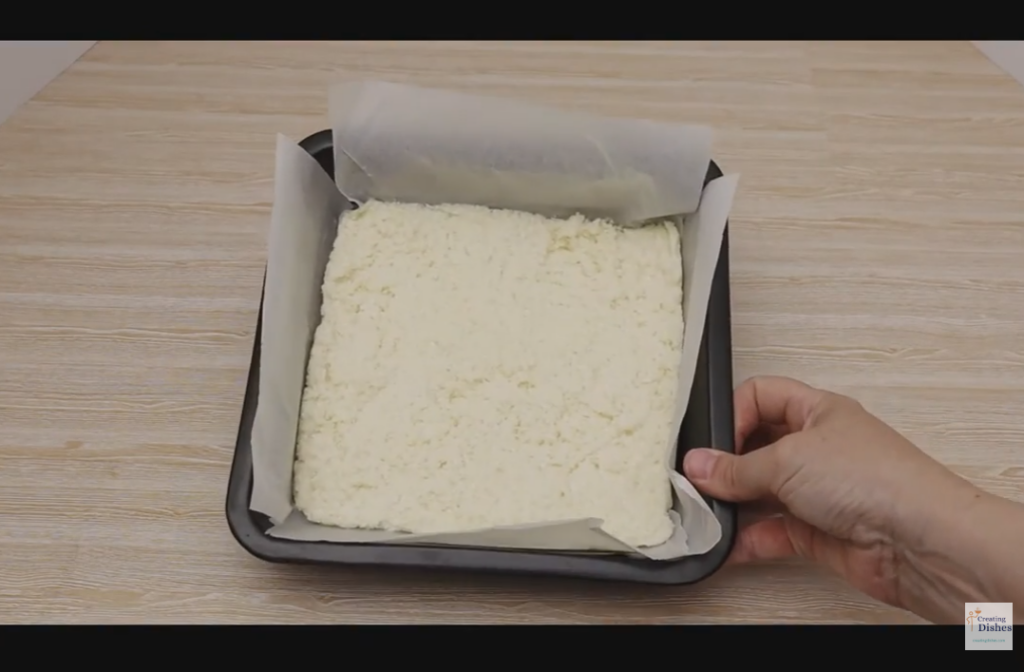
- Divide the mixture in half. Use half of the white mixture and press firmly and evenly into the base of your lined tin. Keep the other half of the mixture in the bowl.
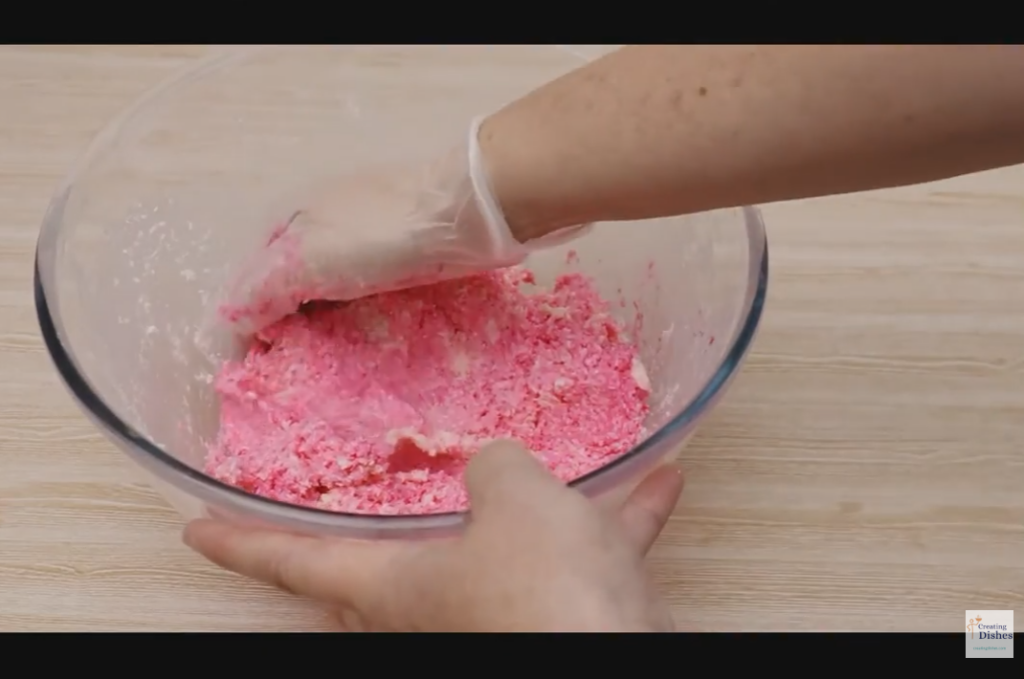
- Colour the pink layer. Add 5–6 drops of pink food colouring to the second half, then mix until the colour is evenly distributed.
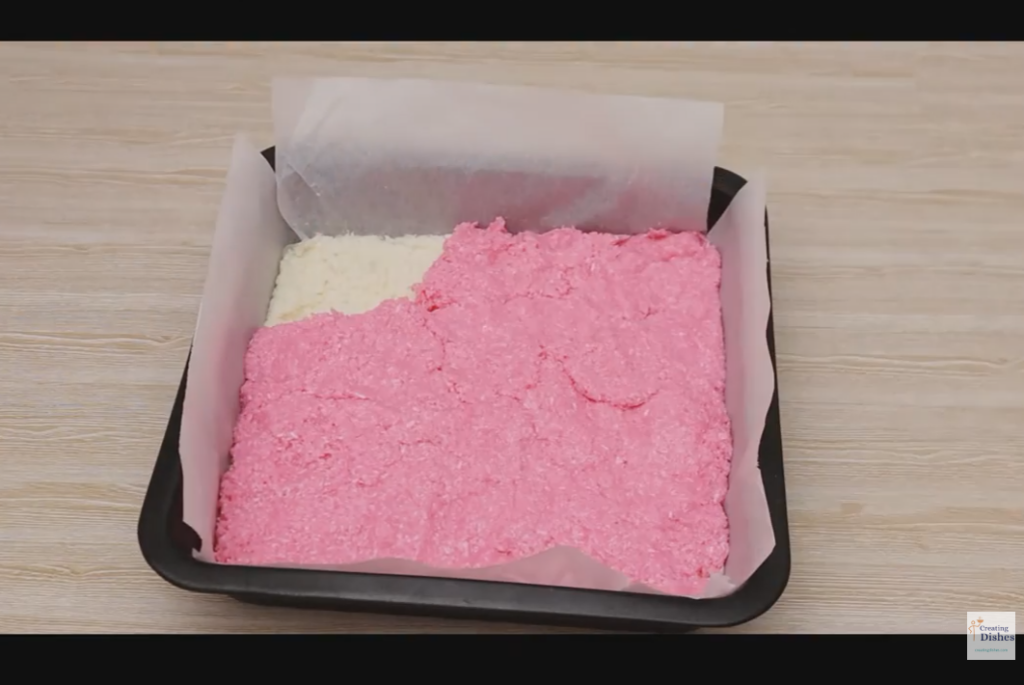
- Layer it up. Press the pink mixture on top, smoothing it down so both layers are even. Smooth with the back of a spoon.
- Chill. Refrigerate for 1–2 hours, or until firm to the touch.
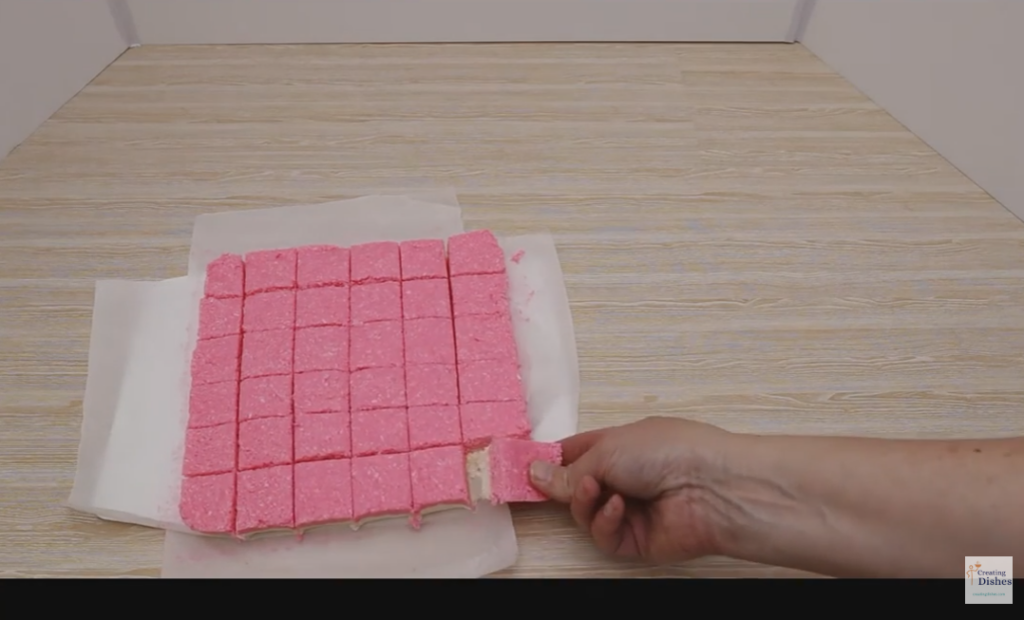
- Slice and serve. Lift the slice out using the baking paper overhang, and cut into small squares with a sharp knife.
Tips for the Best Coconut Ice
- Press each layer down firmly — this is what stops your coconut ice from crumbling when you slice it.
- If your mixture feels too dry to press together, add condensed milk a teaspoon at a time. If it’s too wet, add a little extra icing sugar.
- A hot knife (run under hot water and dried) gives you cleaner slices.
- Want to switch it up? Try a few drops of green colouring for Christmas, or blue for a birthday party.
Storage
Store coconut ice in an airtight container in the fridge for up to 2 weeks, or in the freezer for up to 3 months. Let it sit at room temperature for a few minutes before serving if frozen.
Loved this one?
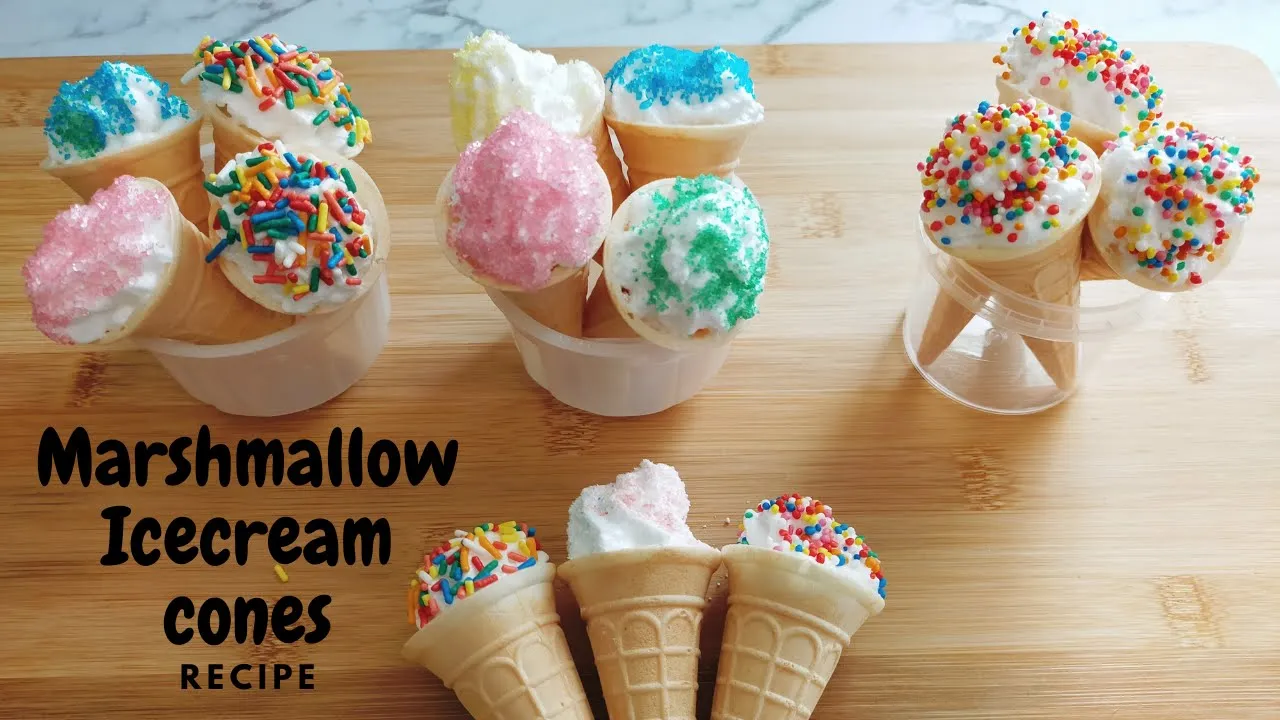
You might also like my Marshmallow Cones Recipe or my Sherbet Powder Recipe — both easy, no-bake treats perfect for the lunchbox or a party platter.
Coconut Ice Recipe: Easiest No-Bake Sweet!
Ingredients
Instructions
-
In a large bowl, combine the desiccated coconut and sifted icing sugar.
-
Pour the condensed milk into the bowl.
-
Add to the dry ingredients. A pinch of cream of tartar.
-
Add the ingredients. Pour vanilla essence. Mix well until you have a thick, sticky, dough-like mixture that holds together when pressed.
-
Line your tin. Line a slice tin (roughly 20cm x 20cm) with baking paper, leaving a little overhang on two sides to help lift it out later.
-
Divide the mixture in half. Use half of the white mixture and press firmly and evenly into the base of your lined tin. Keep the other half of the mixture in the bowl.
-
Colour the pink layer. Add 5–6 drops of pink food colouring to the second half, then mix until the colour is evenly distributed.
-
Layer it up. Press the pink mixture on top, smoothing it down so both layers are even. Smooth with the back of a spoon.
Chill. Refrigerate for 1–2 hours, or until firm to the touch.
-
Slice and serve. Lift the slice out using the baking paper overhang, and cut into small squares with a sharp knife.
Note
Store coconut ice in an airtight container in the fridge for up to 2 weeks, or in the freezer for up to 3 months. Let it sit at room temperature for a few minutes before serving if frozen.