

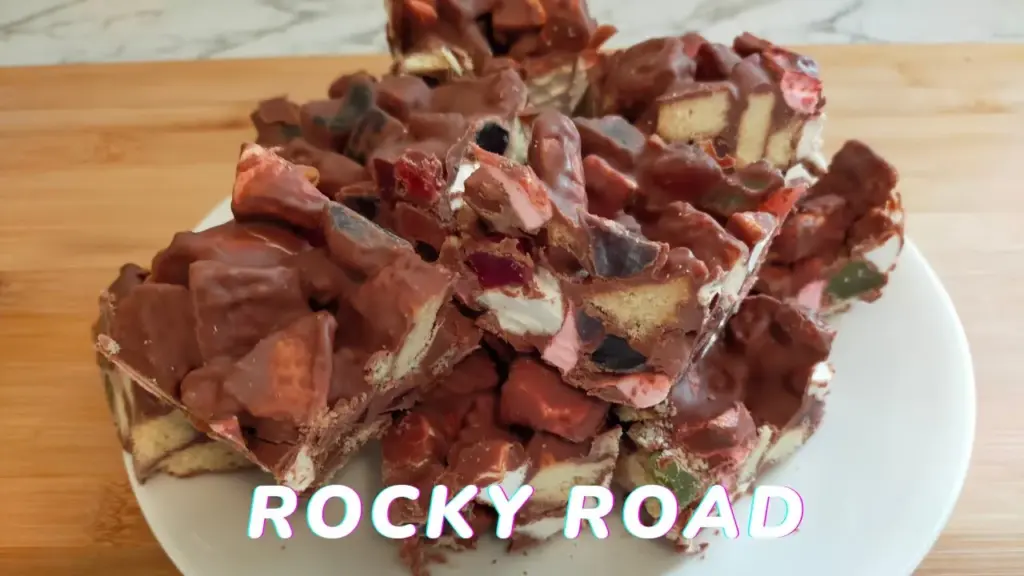
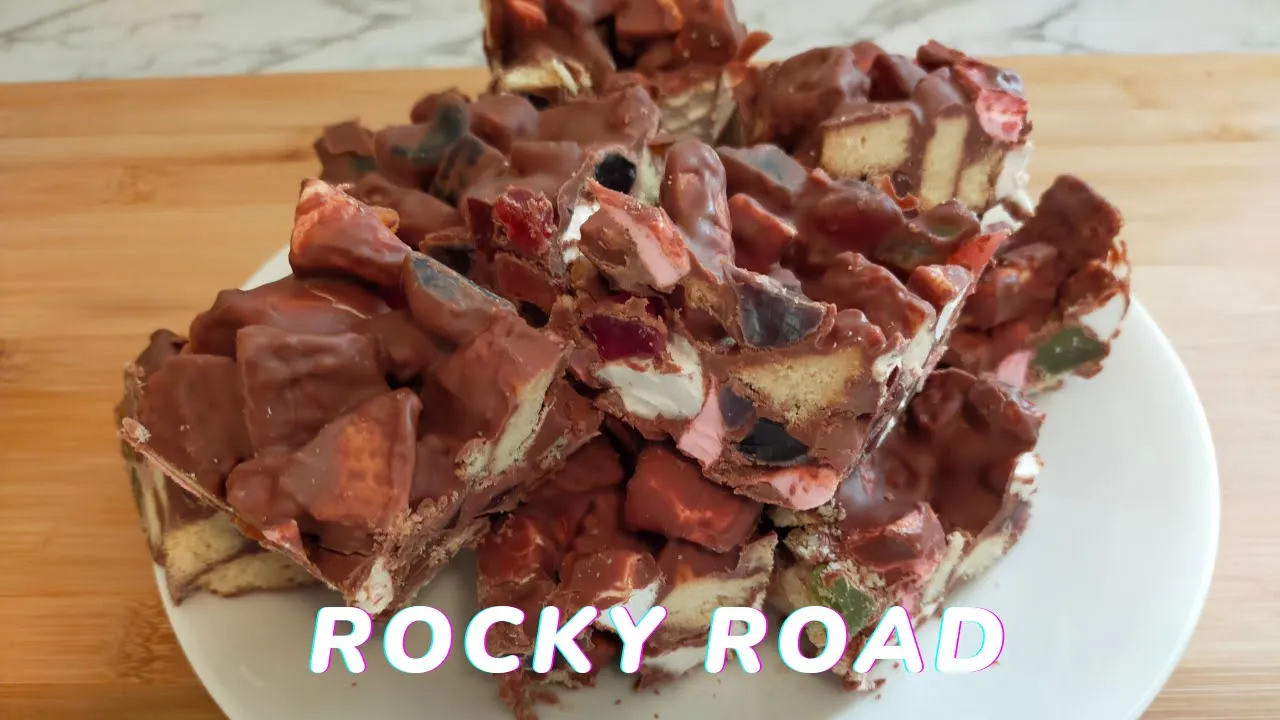
If you are looking for a recipe that takes almost no effort and gets absolutely demolished every single time you make it — this is the one. This easy Rocky Road recipe is no-bake, uses just five ingredients, and makes a whopping 30 pieces. Yes, thirty! (Bite-sized)
Melted chocolate poured over lolly snakes, berry lollies, fluffy marshmallows, and crunchy Scotch Finger biscuits — it is a little bit chaotic, a little bit nostalgic, and completely irresistible. This is one of those recipes that has been on the Creating Dishes YouTube channel for a reason. People keep coming back to it.
Whether you are making it for a birthday party, a school lunchbox treat, a Christmas gift, or just because it is Tuesday and you deserve chocolate — this Rocky Road slice delivers every single time. And the best part? There is no oven involved at all.
✅ Use a good-quality chocolate — it really does make a difference to the final texture and flavour. Milk chocolate gives a sweeter, creamier result. Dark chocolate adds a richer depth. A mix of both is the best of both worlds.
A note on the lollies: Lolly snakes and berry lollies are the fun, chewy heart of this Rocky Road. They add colour, texture and that nostalgic sweetness that makes every bite a little different. Feel free to swap in your own favourites — jelly babies, raspberries, or even Turkish delight all work beautifully.
A note on the biscuits: Scotch Finger biscuits are a classic Australian choice — buttery, slightly crumbly, and they hold up well once set in chocolate. You can also use Milk Arrowroot, Nice biscuits, or any plain sweet biscuit you have in the pantry.
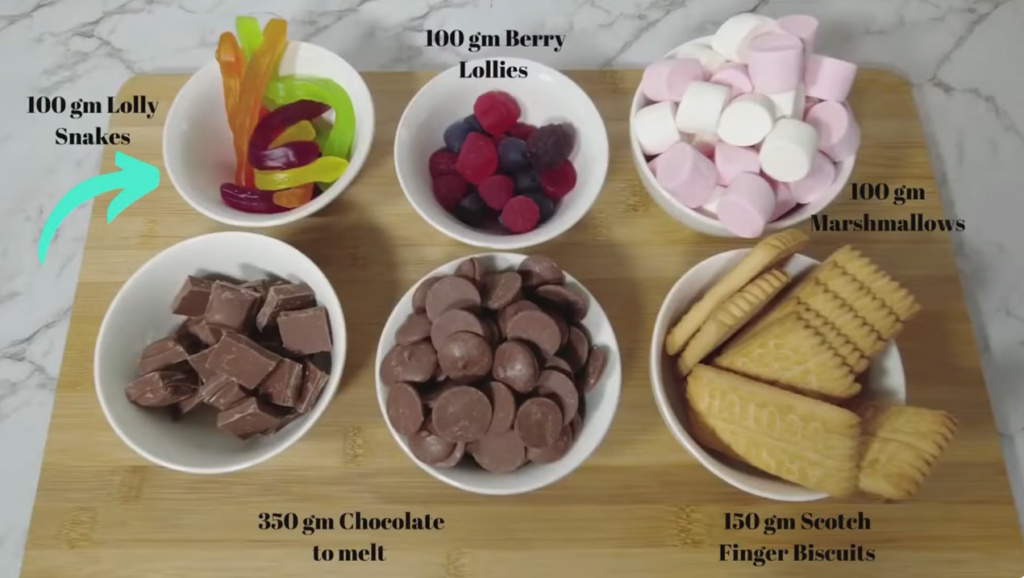
Break the Scotch Finger biscuits into rough, chunky pieces — you want irregular shapes, not crumbs. Roughly chop the lolly snakes into thirds. You can leave the berry lollies and marshmallows whole, or halve them if you prefer smaller pieces throughout. Line a slice tin or baking dish with baking paper, leaving some paper hanging over the sides so you can lift it out easily once set.
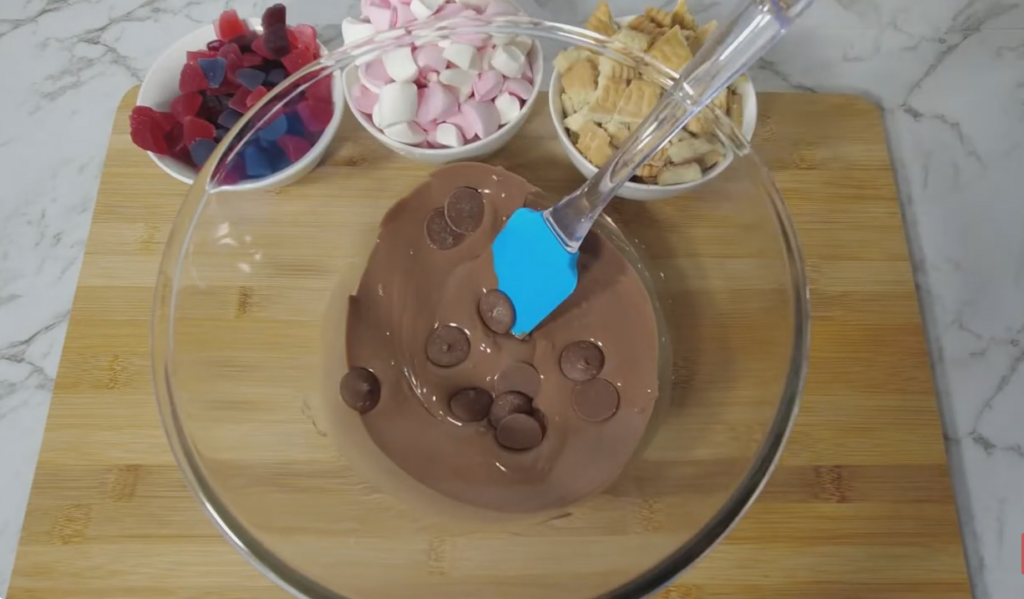
Break the chocolate into pieces and melt it gently — in a heatproof bowl over a saucepan of barely simmering water (do not let the bowl touch the water), or in the microwave in 30-second bursts, stirring between each burst. Stir until completely smooth. Do not overheat — chocolate scorches easily. Remove from the heat and allow to cool for 2–3 minutes.
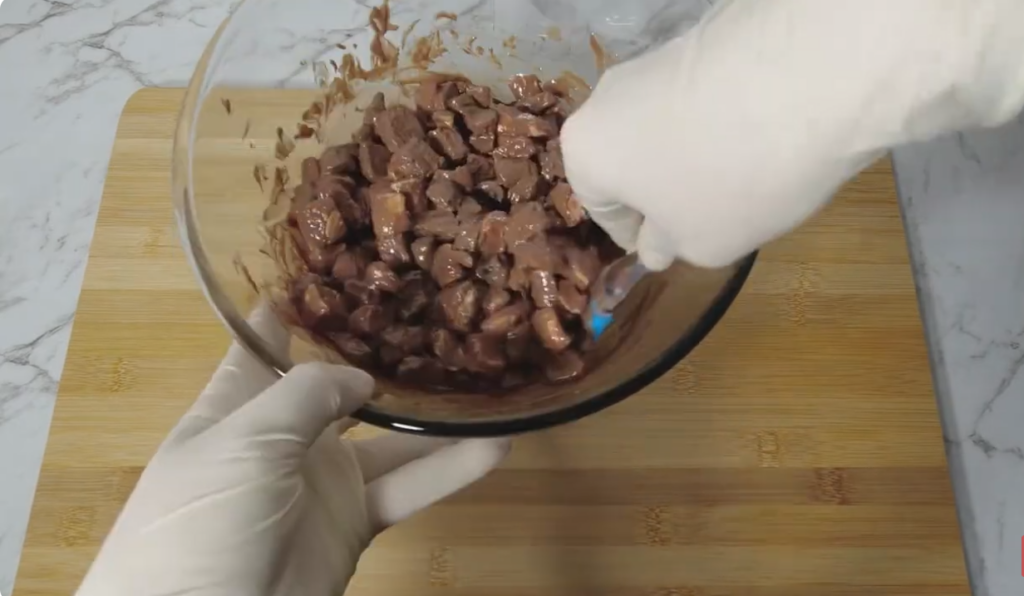
Add the biscuit pieces, lolly snakes, berry lollies, and marshmallows into the bowl of melted chocolate. Stir gently but quickly until everything is well coated. Work fast here — you want the chocolate to coat everything before it starts to set.
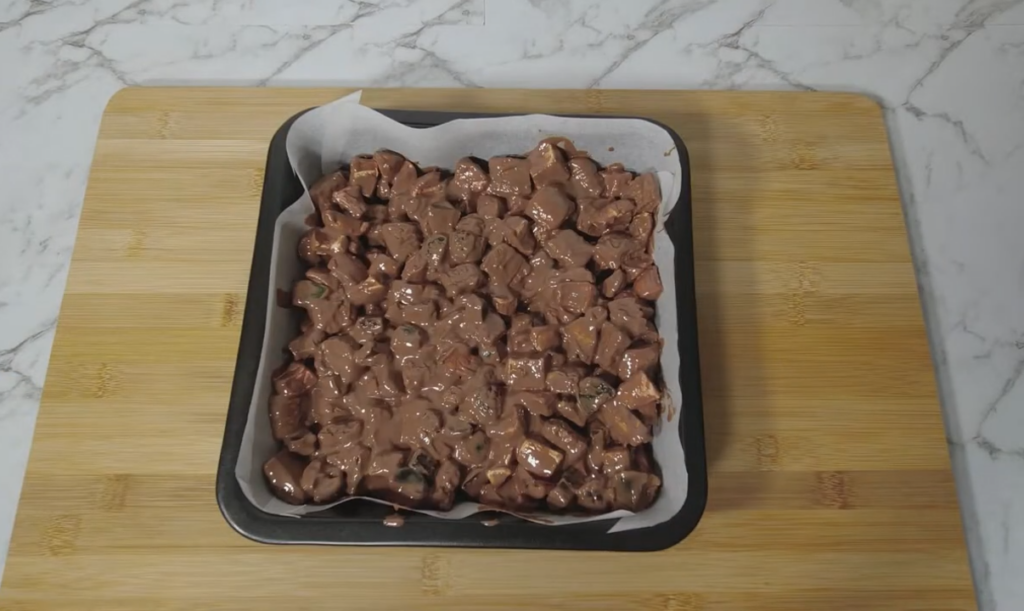
Pour the mixture into your prepared tin and spread into an even layer. Give the tin a gentle tap on the bench to settle everything. Transfer to the fridge and leave to set for at least 2 hours, or until completely firm.
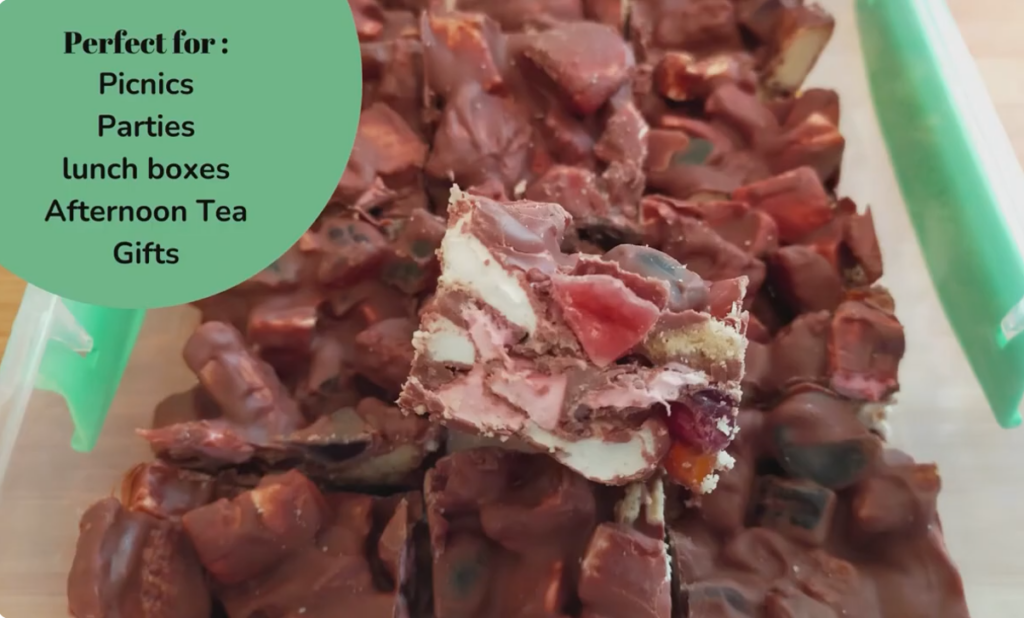
Once fully set, lift the Rocky Road out of the tin using the baking paper. Place on a chopping board and cut into squares or rough chunks. The more uneven the cuts, the more 'rocky' it looks — and that is the whole charm of it! Store in an airtight container in the fridge.
Scorched chocolate turns grainy and seizes. Keep the heat gentle and stir constantly. If using a microwave, use 30-second bursts at 50% power and stir in between every time.
If the melted chocolate is too hot when you add the marshmallows, they can melt and disappear. Let it sit for 2–3 minutes off the heat before stirring everything in.
Once all the mix-ins go in, stir fast and get it into the tin. Chocolate begins to set as it cools, and you want it poured before it gets too thick to spread.
Leave extra paper hanging over two sides of the tin. This makes it so much easier to lift the whole slab out cleanly once it has set, without breaking the edges.
Run your knife under hot water and dry it quickly before each cut. The warmth helps the knife glide through the set chocolate without cracking it.
✅ Quick Tips: Read the recipe in its entirety before you start cooking. This will help you understand the ingredients, steps, and timing involved, and allow you to prepare any necessary equipment or ingredients beforehand.
If this Rocky Road was a hit, here are a few more easy, crowd-pleasing recipes from Creating Dishes to try next:
Easy no-bake Rocky Road with chocolate, lolly snakes, marshmallows & Scotch Finger biscuits. Makes up to 30 pieces — perfect for parties, gifts, and sweet tooths!
Break the Scotch Finger biscuits into rough, chunky pieces — you want irregular shapes, not crumbs. Roughly chop the lolly snakes into bite size peices. You can leave the berry lollies and marshmallows whole, or chop them if you prefer smaller pieces throughout. Line a slice tin or baking dish with baking paper, leaving some paper hanging over the sides so you can lift it out easily once set.
Break the chocolate into pieces and melt it gently — in a heatproof bowl over a saucepan of barely simmering water (do not let the bowl touch the water), or in the microwave in 30-second bursts, stirring between each burst. Stir until completely smooth. Do not overheat — chocolate scorches easily. Remove from the heat and allow to cool for 2–3 minutes.
Add the biscuit pieces, lolly snakes, berry lollies, and marshmallows into the bowl of melted chocolate. Stir gently but quickly until everything is well coated. Work fast here — you want the chocolate to coat everything before it starts to set.
Pour the mixture into your prepared tin and spread into an even layer. Give the tin a gentle tap on the bench to settle everything. Transfer to the fridge and leave to set for at least 2 hours, or until completely firm.
Once fully set, lift the Rocky Road out of the tin using the baking paper. Place on a chopping board and cut into squares or rough chunks. The more uneven the cuts, the more 'rocky' it looks — and that is the whole charm of it! Store in an airtight container in the fridge.
Did you make this Rocky Road? I would love to know how it turned out! Drop a star rating and a comment below — it helps other home cooks find this recipe and honestly makes my day. You can also tag #creatingdishes on Instagram, or come and say hi over on the Creating Dishes YouTube channel and show me your creation. Happy (no) baking! 🍫