


Fluffy homemade marshmallow piped into mini ice cream cones and finished with a sprinkle of sherbet — a classic Aussie treat that sets really quickly!
If you have never tried a marshmallow cone before, you are seriously missing out! These little treats are a nostalgic, budget-friendly sweet that kids and adults both go wild for. The best part? The marshmallow sets surprisingly quickly, which means you are not waiting long before you can eat them!
I shared this recipe over on the Creating Dishes YouTube channel and the response was so lovely — so now it is time to bring it here to the blog with all the details you need to make these at home yourself.
Marshmallow cones are exactly what they sound like: mini ice cream cones filled with fluffy, pillowy homemade marshmallow. You can top them with sherbet, hundreds and thousands, or sprinkles — the choice is yours. They are perfect for birthday parties, bake stalls, school events, or just a fun weekend treat at home.
Before you start, watch the full tutorial on my YouTube channel so you can see exactly how this recipe comes together. It really helps to see the marshmallow mixture being piped into the cones!
If you enjoyed this video, please give it a thumbs up and subscribe to the Creating Dishes YouTube channel for more easy, budget-friendly recipes!
Here is what you will need to make your marshmallow cones at home. Most of these you likely already have in your pantry!
✅ Tracy's Tip: Work quickly once you start piping! The marshmallow mixture begins to set fast. Have all your cones lined up and ready to go before you start filling them.
The process is simple, but it does move quickly once the hot sugar goes in, so read through all the steps before you begin. Here is a brief overview — the full recipe card with exact quantities is below!
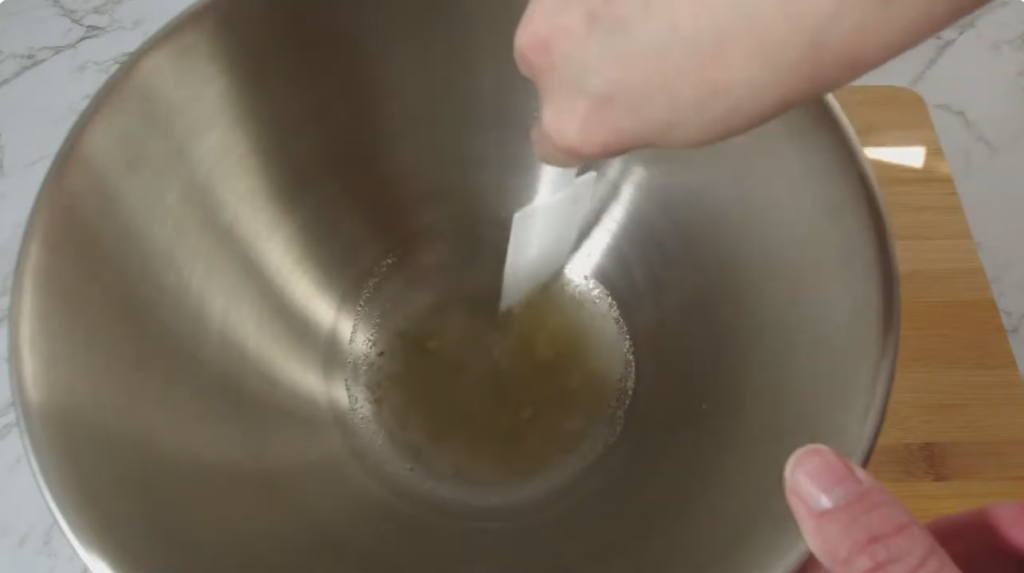
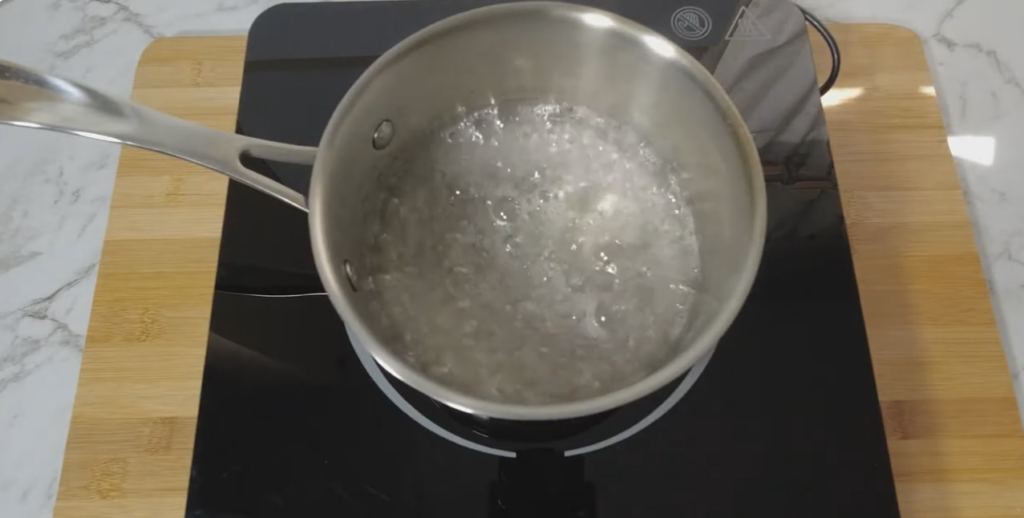
2. Cook the sugar, corn syrup, and water on the stove top until it reaches 115°C. Use your thermometer — this step matters!
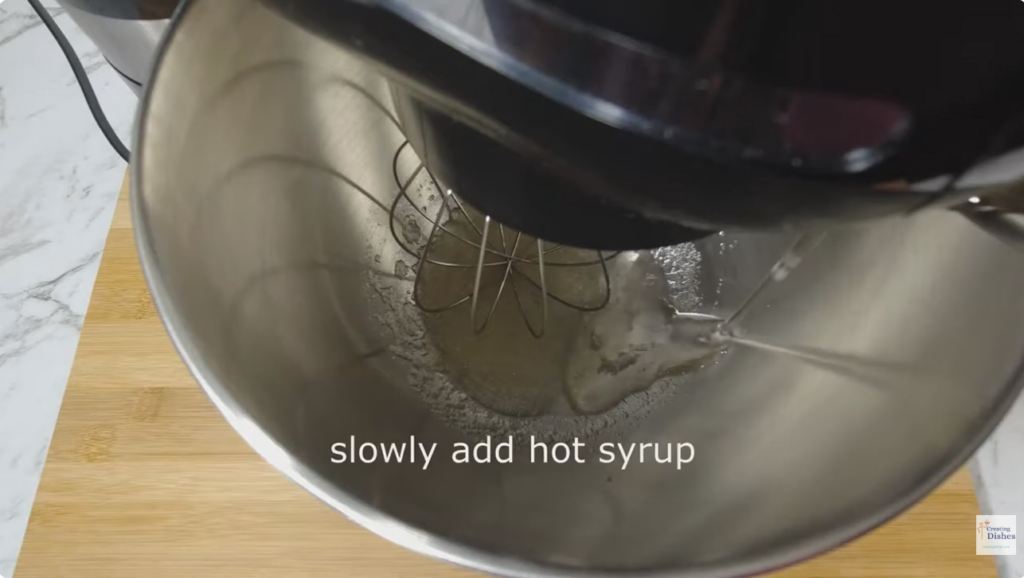
3. Quickly add the hot sugar syrup to the bloomed gelatine in your stand mixer bowl.
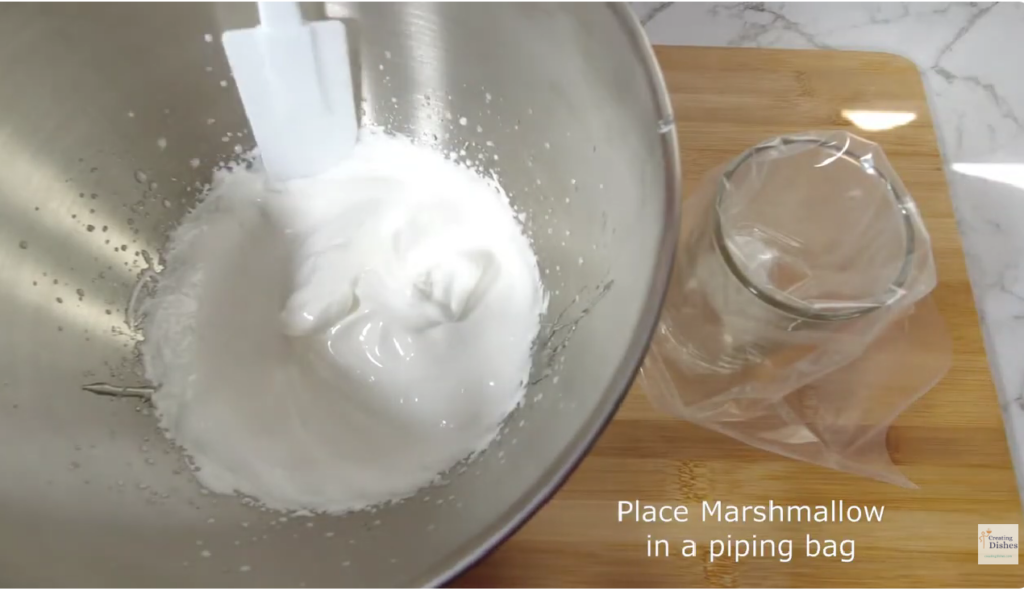
4. Whisk on high until the mixture is thick, fluffy, and shiny — this takes around 5 minutes.
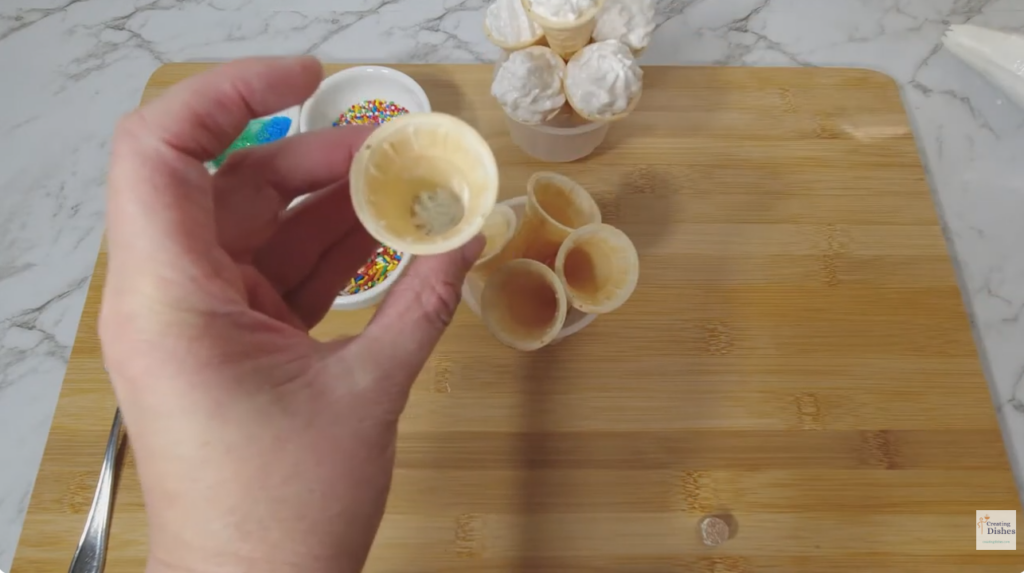
5. Pop the sherbet into the bottom of each cone first, if you are using it.
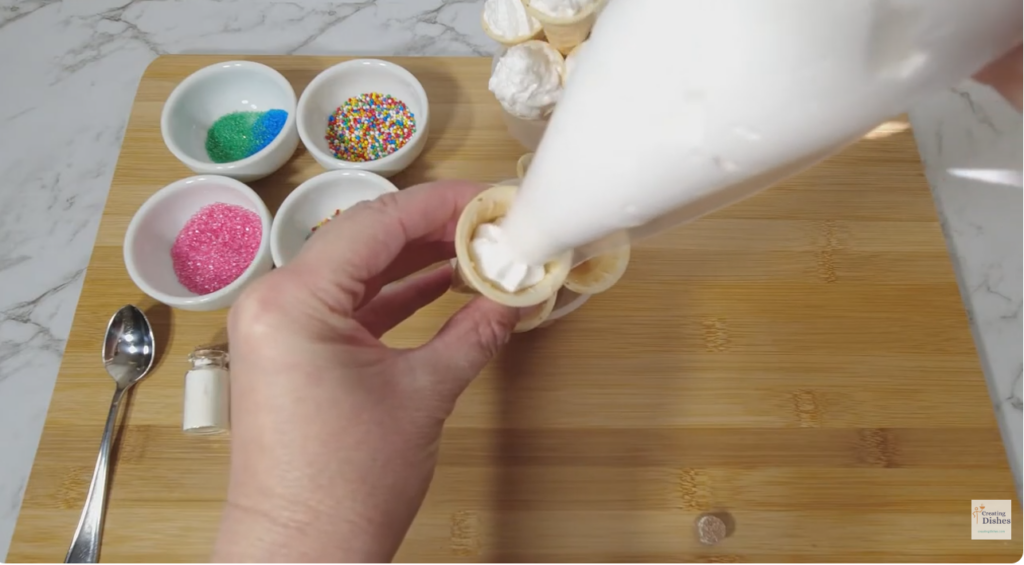
6. Transfer the marshmallow to a piping bag and pipe into the cones immediately — fill right to the top!
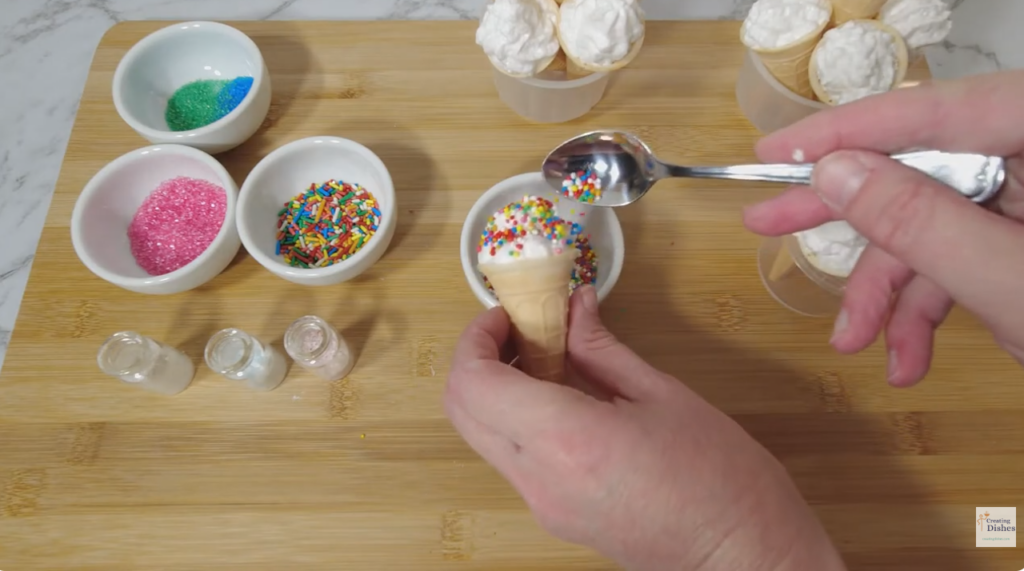
7. Decorate with hundreds and thousands while the marshmallow is still soft so they stick.
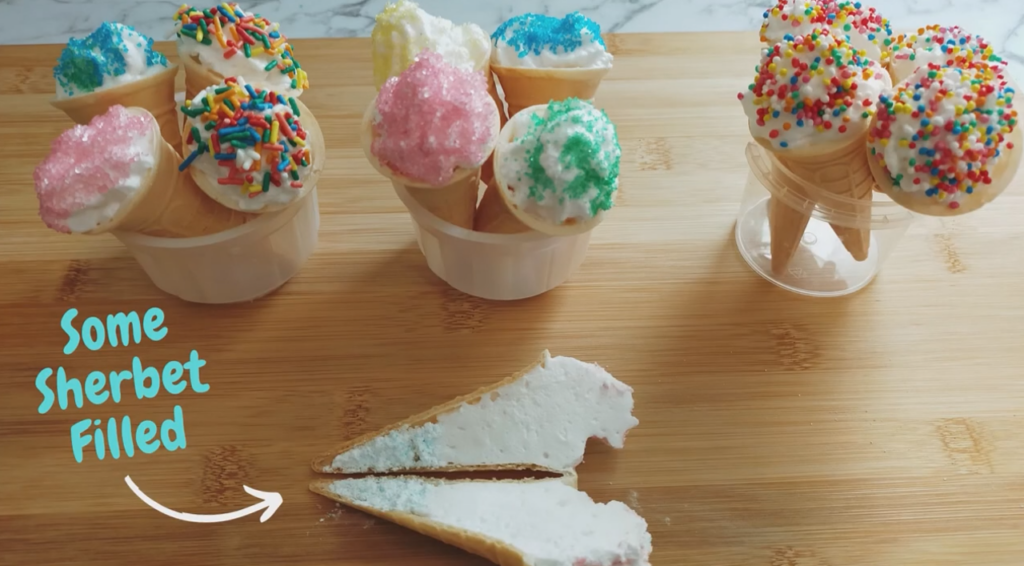
8. Leave to set for 1–2 hours at room temperature before serving.
No thermometer? If your candy thermometer is not playing ball, bring the mixture to a rolling boil and let it simmer for around 5 minutes. The mixture should reach what is called the "soft ball" stage — at this point it is ready to come off the heat.
Once set, store your marshmallow cones in an airtight container at room temperature. They will keep for around 2–3 days. If the weather is very warm, pop them in the fridge to prevent the marshmallow from becoming too soft.
Avoid storing them in a sealed bag as the cones can go soft from the moisture of the marshmallow — an open tray covered loosely with cling wrap works well.
Absolutely! If you are short on time, you can melt store-bought marshmallows in the microwave with a tiny splash of water and spoon or pipe them into the cones while still warm and pliable. However, the homemade marshmallow version is really worth the extra effort — it is fluffier, lighter, and has a better texture than the melted version.
I would absolutely love to see your marshmallow cones! Leave a comment below or tag me on social media so I can see how they turned out for you. These are one of those recipes that are so simple but make people smile every single time — I hope they do the same for you!
And if you have not already, make sure you subscribe to the Creating Dishes YouTube channel where I share video tutorials for all of these recipes. It really helps the channel grow and means I can keep sharing more budget-friendly recipes with you!
Happy cooking! 💛 — Tracy, Creating Dishes
Easy homemade marshmallow piped into mini ice cream cones with sherbet and sprinkles.
Place the gelatine powder in a heat-proof stand mixer bowl. Add the of cold water and whisk briefly by hand. Set aside for 2 minutes to bloom.
In a high-sided saucepan, combine the granulated sugar, corn syrup (or honey), and 3 tablespoons of water. Heat over medium heat, stirring until the sugar dissolves. Clip on your candy thermometer and bring the mixture to 115°C. Remove from heat immediately.
Working quickly and carefully, pour the hot sugar mixture into the bowl with the bloomed gelatine. Fix the bowl to your stand mixer and whisk on high speed for approximately 5 minutes, until the mixture is thick, fluffy, white, and shiny.
While the marshmallow is whisking, line up your mini ice cream cones. If using sherbet, spoon a small amount into the bottom of each cone now.
Immediately transfer the marshmallow mixture into a piping bag. Snip the tip and pipe the marshmallow into each cone, filling right to the top.
Sprinkle with hundreds and thousands or sprinkles while the marshmallow is still wet so they stick.
Stand the cones upright (use a muffin tin or cardboard box to help balance them). Leave at room temperature for 1–2 hours until fully set before serving.
Tracy's Notes: Work as quickly as possible when piping — the marshmallow sets fast! If it starts to firm up before you finish filling all the cones, you can place the bowl briefly over a pot of hot water to soften it slightly, but be careful not to overheat or it will lose its fluffiness. You can also add a few drops of flavoured essence (mango, raspberry, strawberry) to half the batch for a fun flavour variation!